Wooden stairs are always versatile. With the right contractors, it can take the shape and look of your desired theme, whether it’s modern, futuristic, elegant, or functional.
While built to last, wooden stairs are not invincible to wear and tear. Heavy foot traffic, pets, and playful children can easily shorten its life span. If your staircase is now looking bare, shows signs of severe use, and has lost its former glory, it’s not the end of the world. Check out this article for a few actionable tips on how to mend scratches and rough surfaces on your stairs.
- Refresh The Stair Treads
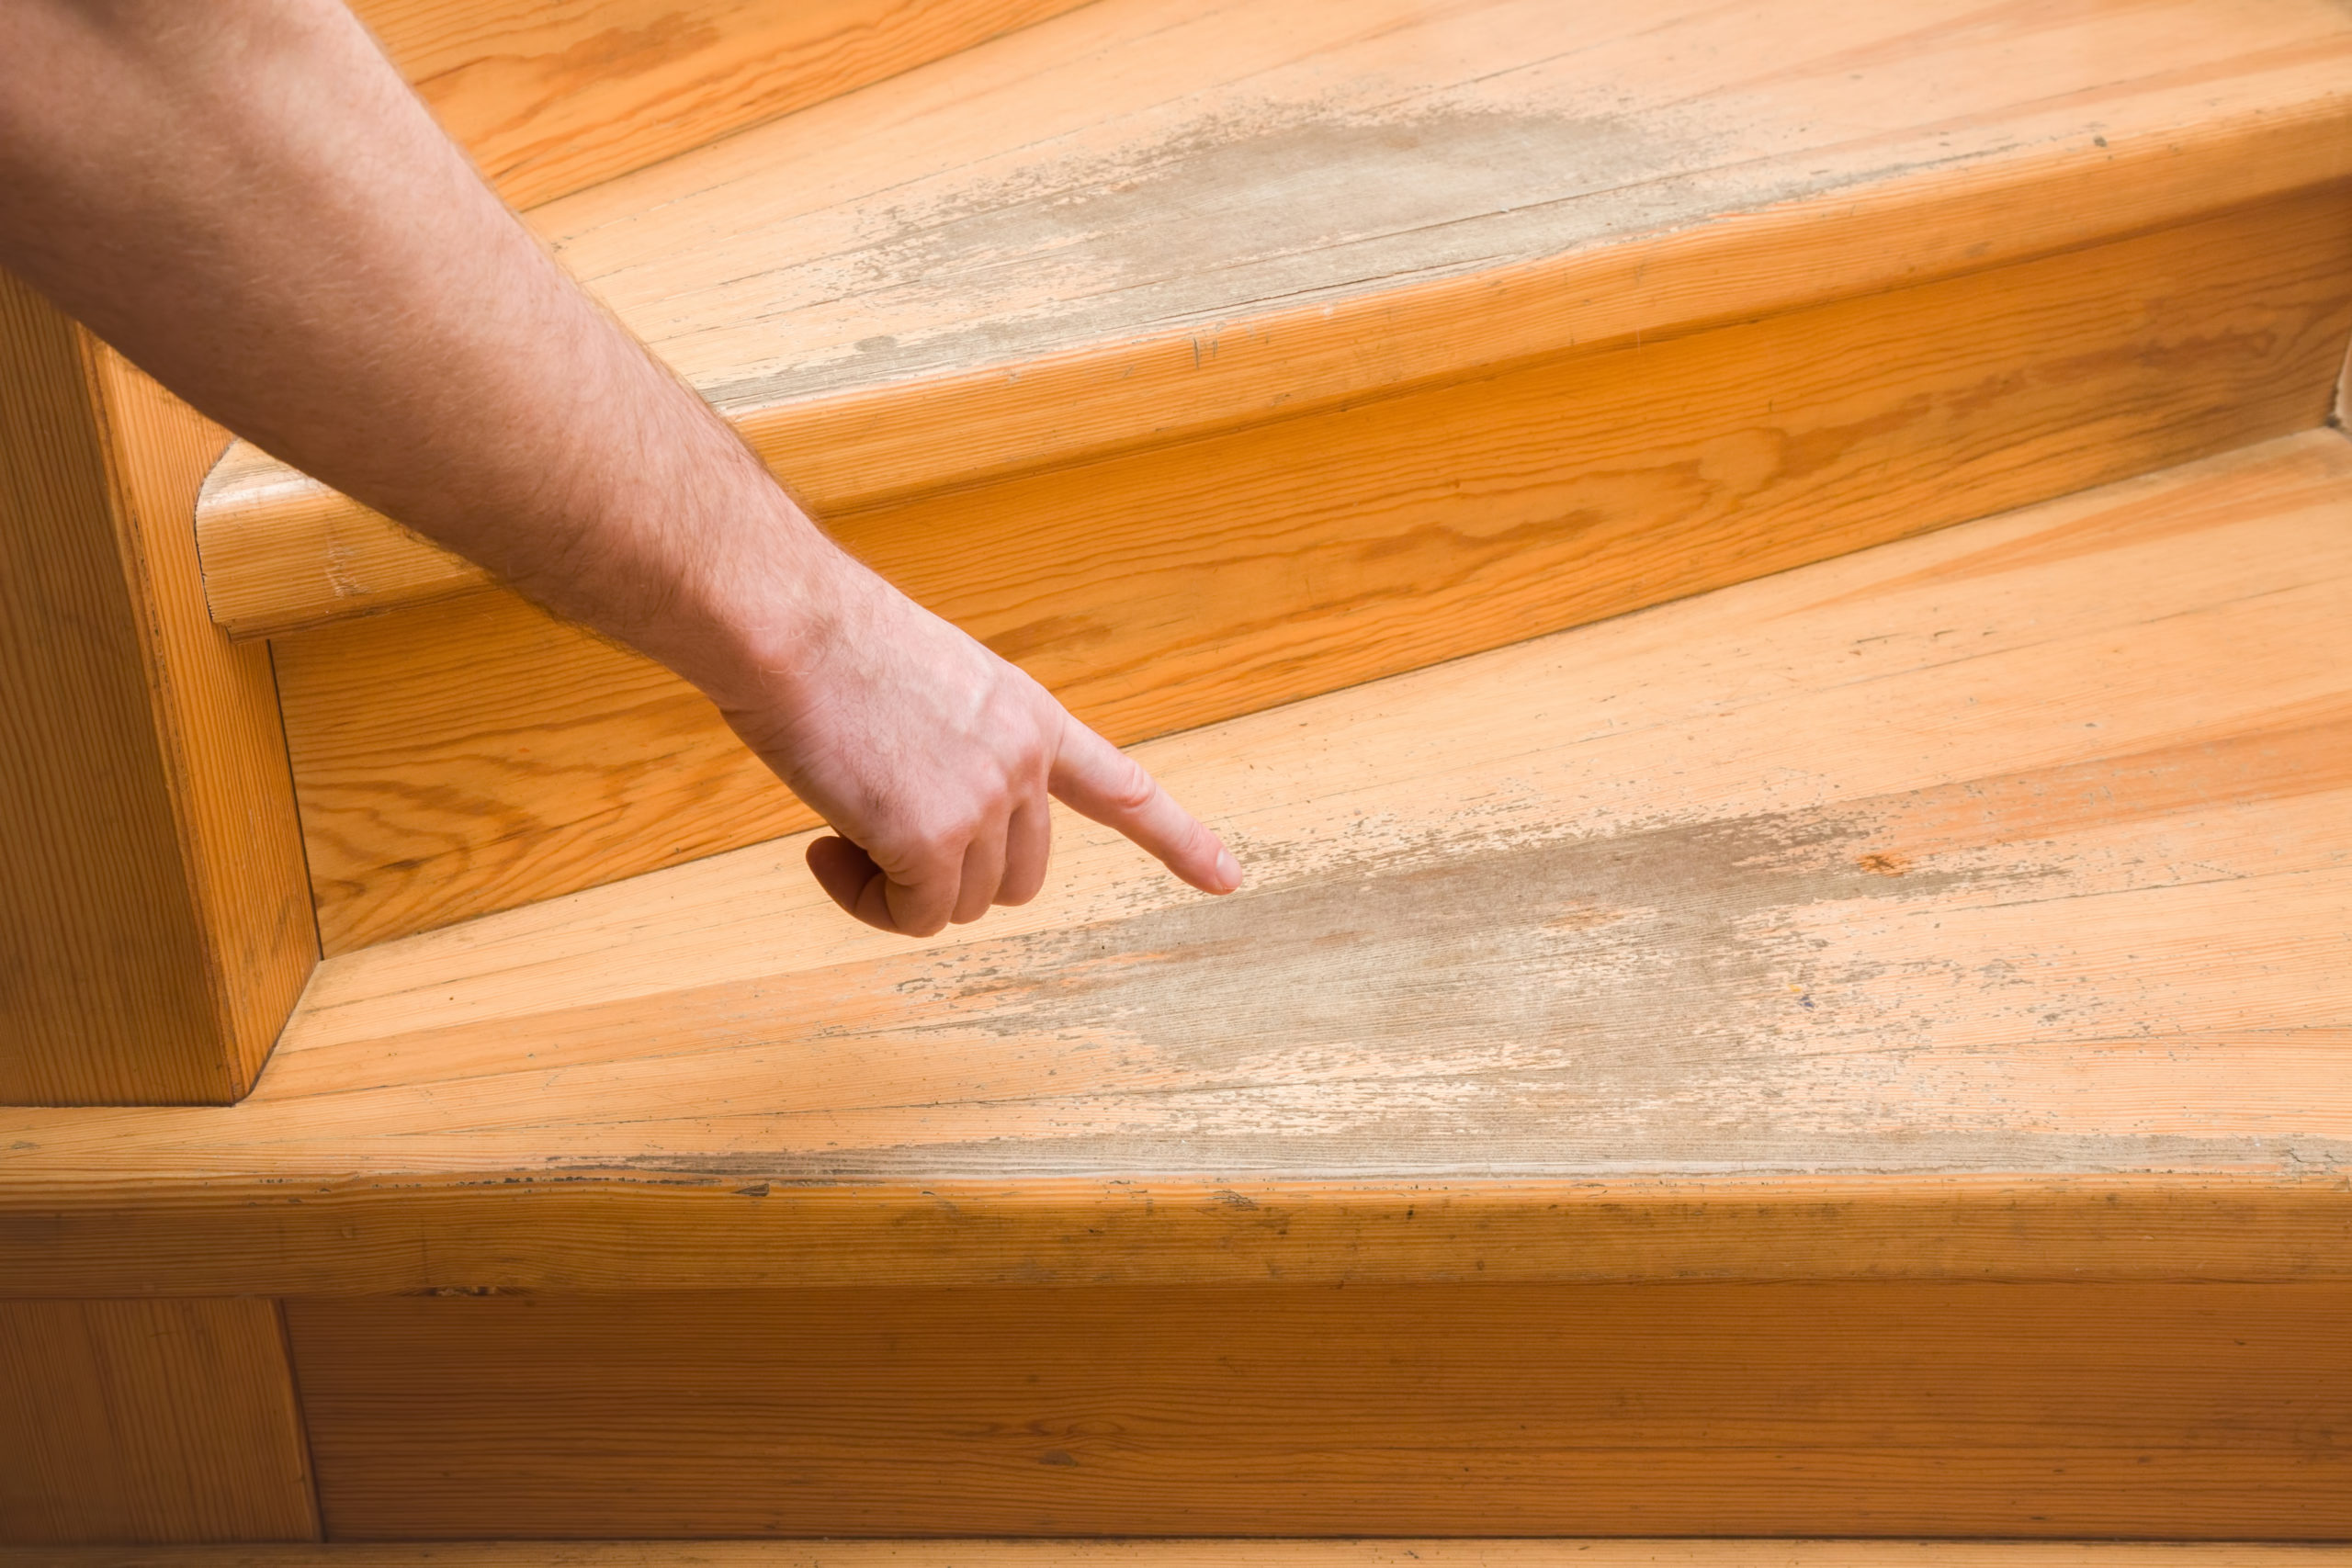
Perhaps the parts that first get damaged are the horizontal treads. These are the parts of the stairs you step on to reach the upper levels. Sometimes, the damage starts as the varnish topcoat wears off, exposing the wood and making your stairs look lackluster. If you notice this on your stair treads, here’s what you should do:
- Check the extent of the damage: Examine your stairs for wear and tear by carefully checking each stair tread. It’s likely you’d find varying degrees of wear. An example is when the finish of the top and bottom steps of the staircase is completely worn off but intact on the treads in between.
- Thoroughly clean your stairs: If the damage isn’t as bad as you’ve expected, like there are no moderate to deep scratches, consider having your stairs cleaned by professionals. But make sure to hire those who don’t use strong cleaning chemicals. If you’d rather do it on your own, wear your hand gloves and get ready with a paint thinner onto the thread. Get steel wool, dip it in the thinner, and scrub the tread to remove wood stains and scuff marks. Then dry the stairs with a cotton cloth.
- Use wood restoration products: After having your stairs deeply cleaned, look for products that can refresh your stairs without the heavy work, such as sanding and buffing. These floor reviver products are often applied with one coat and come in either low or high gloss. The luster on your stairs can last for a maximum of six months.
2. Don’t Forget The Risers
This part of your stairs is perhaps the second-most battered section in terms of use and abuse. The stairs’ vertical risers are located in between the horizontal treads. They’re probably absent in most industrial ladder cage requirements, but they’re a staple in wooden stairs at home. While they’re not stepped on, they’re commonly kicked or hit, so they can be prone to wear and tear and some scratches, too.
You can remove rough and scratched surfaces from your risers by cleaning them. Again, ready your gloves, steel wool, and paint thinner. Scrub the risers with steel wool dipped in paint thinner. Wipe and wait for the surface to dry, then start sanding it by using an orbital finishing sander, which is better to use on vertical surfaces rather than a random-orbit sander.
3. Apply Wood Varnish
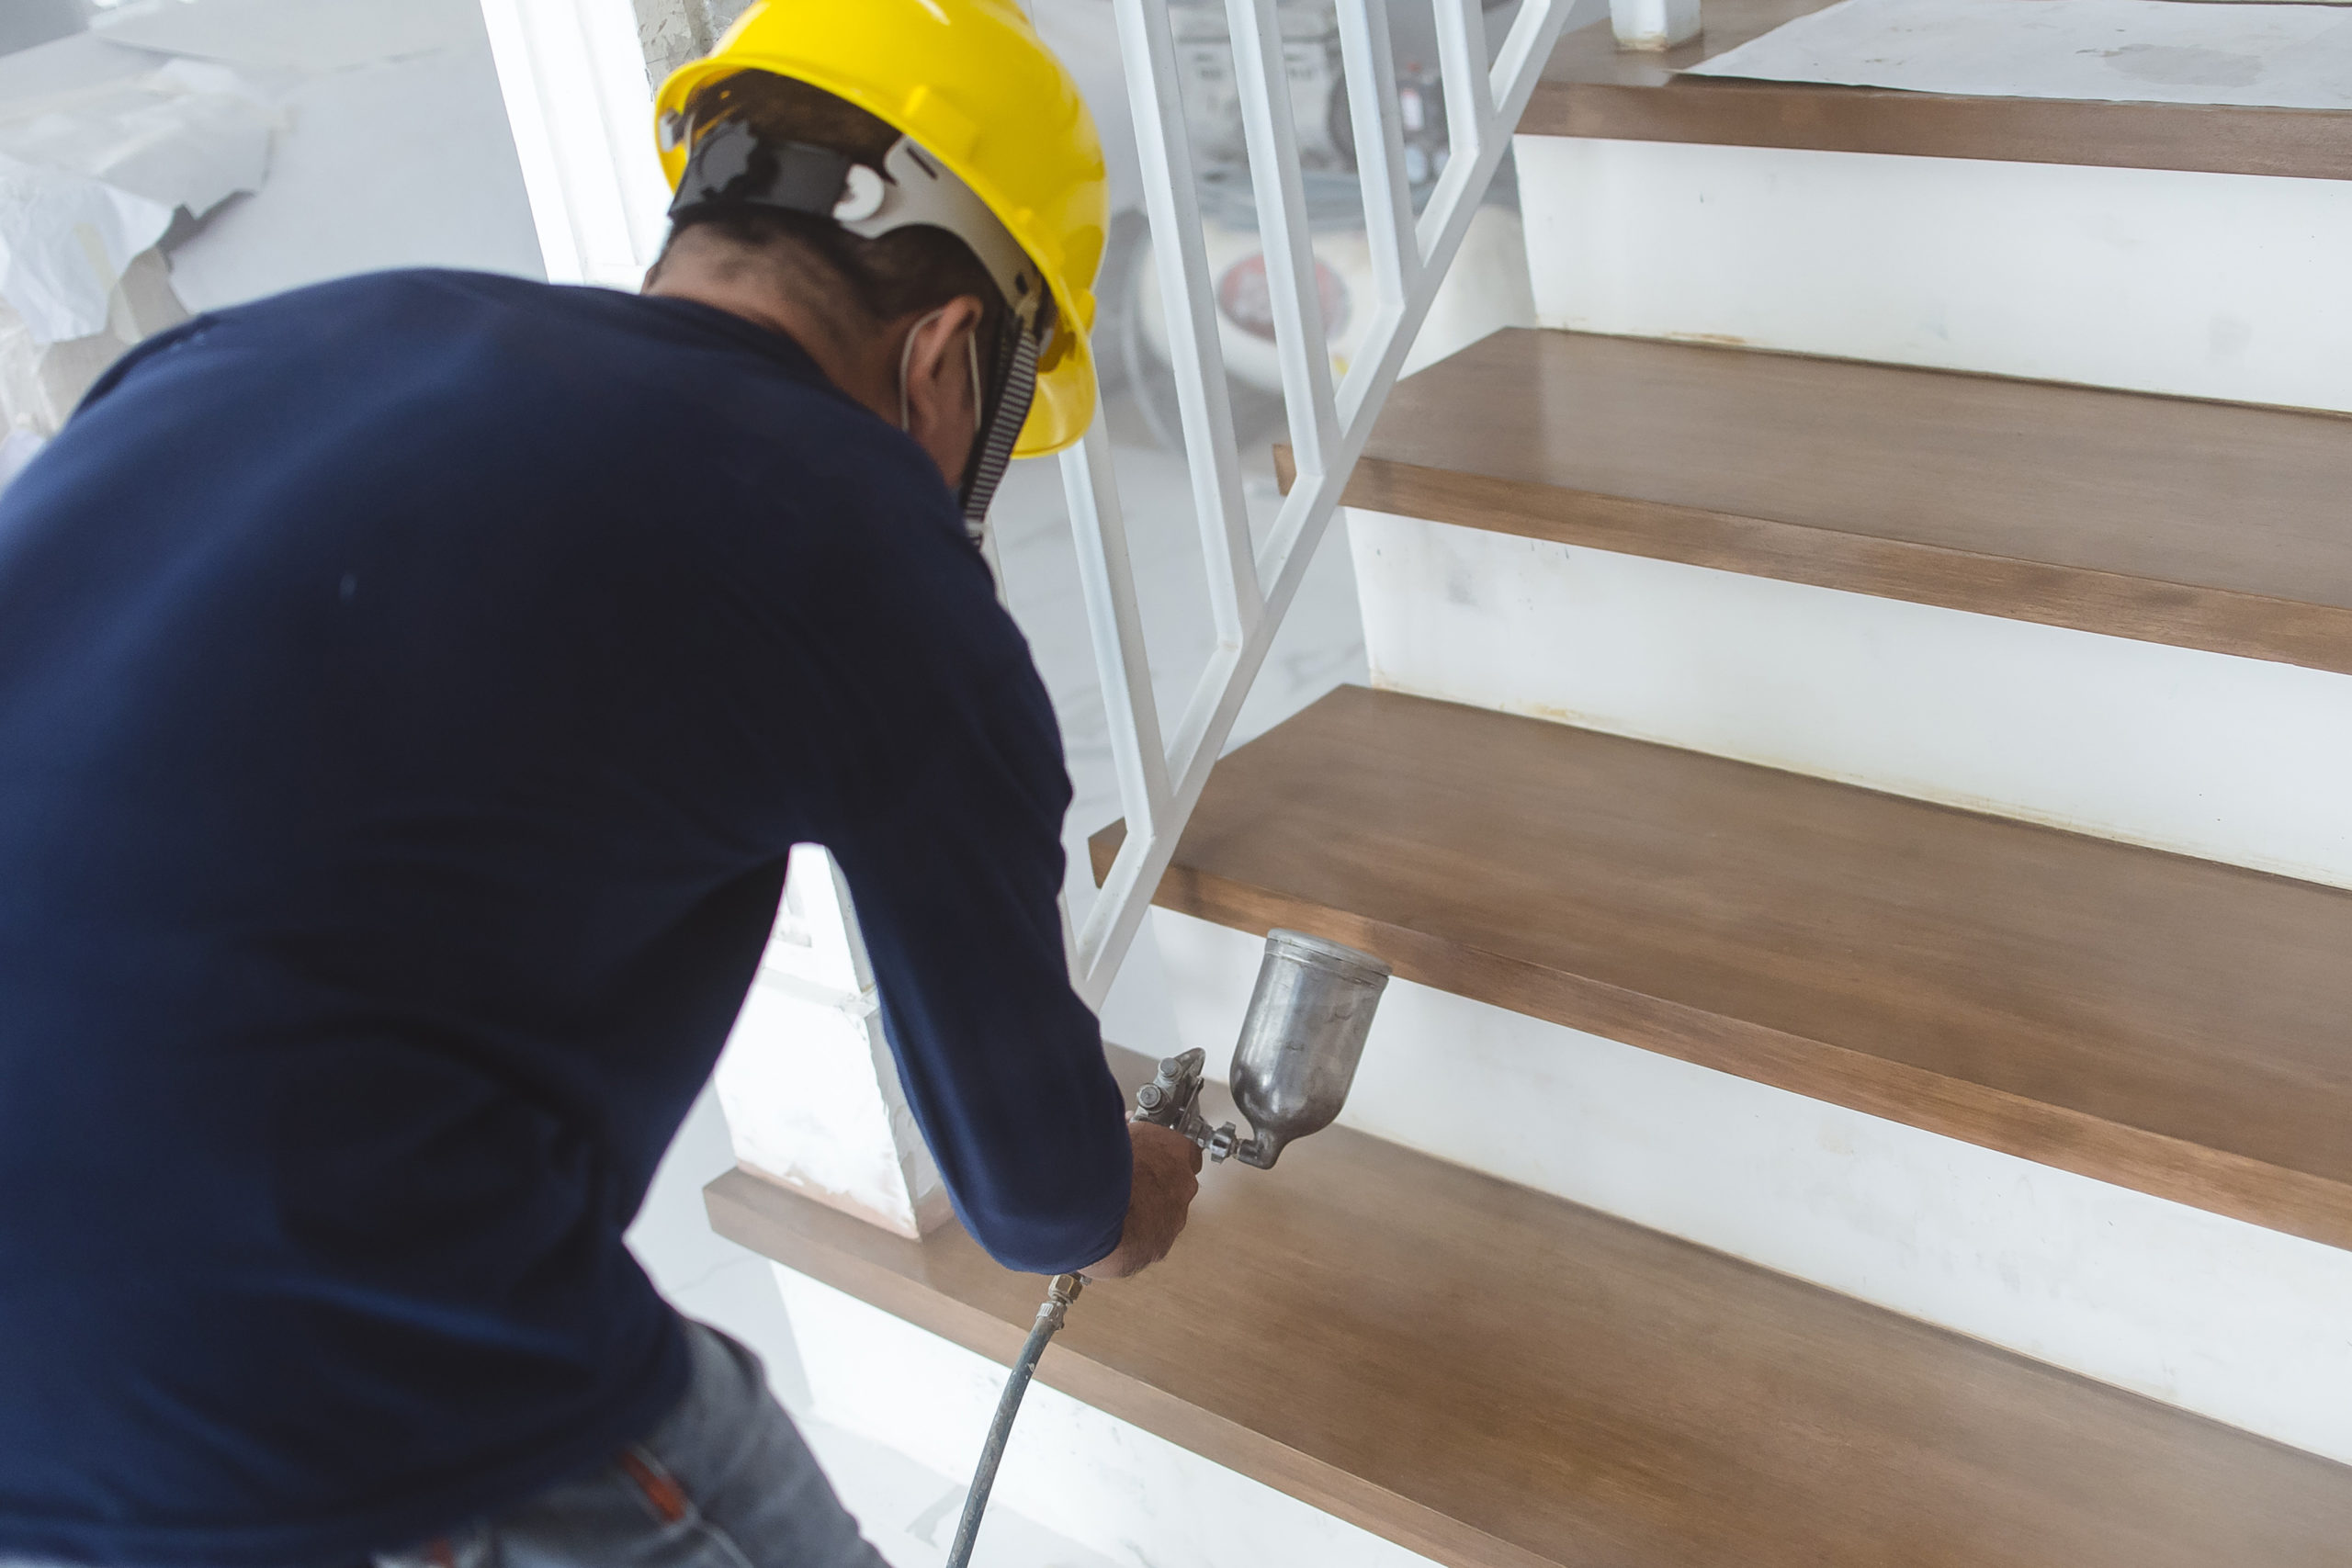
You may also reapply wood varnish if you want to revive your stairs, but this would require you to use an orbital sander and disc to sand the tread and expose the wood. Be prepared for very fine wood dust produced by the sanding process. Once done, have your vacuum ready to collect the dust. Then wipe down all surfaces with a damp cloth.
After cleaning and sanding away all smudge, dirt, and light scratches, you’re ready to apply a new coat of varnish on the staircase. It’s best to use a wide foam brush to spread the varnish onto the stair treads, risers, handrails. A foam brush typically provides a cleaner finish and doesn’t have bristles that could come off and latch on to the mixture to dry on your stairs. It normally takes at least two to eight hours for a polyurethane varnish to dry, depending on its formula, the ambient temperature, the humidity, and your staircase design.
Next, do the sanding for a second time, this time using a finer disc on your tool. For the nosing, or the curved edge located on the front part of the tread, use a sanding sponge or an electric sanding machine with a convex pad attached to it. Wipe and clean your stairs again and apply a second coat of varnish. Wait for a few hours to let the product dry completely before using the stairs.
4. Apply Wood Stain
If you’re not ready to sand and buff your stairs, consider this quick fix: apply wood stain to minimize the appearance of scratches anywhere on your stairs. Apart from choosing the best color to match the wood, consider the following options:
- Oil-based formula dries slowly and can be challenging to work with. However, this variety provides the longest-lasting and richest colors available.
- Water-based formula is a product made with the customers’ convenience in mind. It’s easy to apply and clean up, but you may need to do two coats to get the finish you want.
- Gel formula doesn’t penetrate on wood, especially if it’s previously painted. This is also a good option to fill in the deep scratches.
- Combination formula is a product made for polyurethane finishes. This type of plastic is commonly used in coating wood and gives different levels of shine.
After choosing the right stain variety ideal for your stairs, start filling in the scratches. And have a cotton bud ready to remove excess product. Once done, wait for it to dry.
Other products to try are stain markers and blending pencils, though it can be challenging to find which color combination would match your stairs. Therefore, it may not be easy to spend on these products without any guarantee you’d use them.
5. Try Wood Fillers For Deeper Scratches
If you’ve tried wood stain products but remain unsatisfied with the results, it’s best to try wood filler products. Wood fillers work like adhesive bandages for your abraded wooden surfaces. Just apply them to the affected area to cover and restore the beauty of your wooden staircase.
Fillers do come in a vast array of colors, so ask the help of experts to see which combination fits the surface of your stairs best. Also, a precolored latex wood filler may be a good option. Wood fillers are ideal enough to be sanded, coated with a wood stain, or painted on.
The Bottom Line
Your staircase is an essential section in your home, used daily to go to and from the upper levels of your residence. As such, it’s subject to wear and tear, including scratches from your furry friends or getting a hit from objects being dragged up and down. Depending on the scale of the damage, you can use varnish or fillers, apply wood stain, or sand and buff your stairs. If you’re a skilled handyperson, it’d probably take only one weekend or less to restore your staircase to its natural appeal.