Knowing the common bond between bad breath and pink bathroom “mold” just might help your technicians get better at cleaning bathrooms.
What’s slimy and sticky and red all over? No, it’s not a snail reading a newspaper. It’s a biofilm containing the bacteria Serratia marcescens (S. marcescens), which produces a pinkish color and is commonly found on surfaces in tub enclosures, shower stalls, toilet bowls, on tiles, in sinks and even in pet water bowls.
Just like the bacteria that form them, biofilms are everywhere – on slippery submerged rocks and in clogged pipes and drains. There’s even a biofilm in your mouth – it’s the dental plaque which forms on your teeth and contributes to tooth decay.
What exactly is a biofilm?
These slimy films or clumps are made up of many different types of bacteria bound together in a thick substance that acts as a glue to both hold the bacteria together and adhere it to a surface. We are used to thinking of bacteria as individual organisms that live independently from each other, when in fact most bacteria live in diverse, dynamic colonies surrounded by an adhesive cell matrix the bacteria make themselves. This allows the bacteria to form mutually beneficial relationships with each other for gathering food and even communicating information about their environment that is important to their survival.
Biofilms are fascinatingly mysterious and complex. The study of biofilms has boomed due to more advanced microscopes and a new awareness of their pervasiveness and impact on the natural environment, industry, and human health. For every negative impact of biofilm, a positive use has been discovered. If you are interested in learning more, there are two excellent references provided at the conclusion of this article.
Why do you need to break through and remove biofilm during cleaning?
If not removed, key characteristics of biofilms that directly affect household cleaning are:
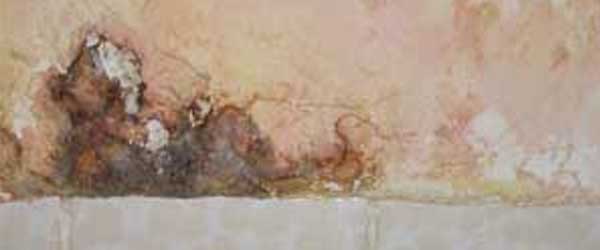
- Biofilms can stain and pit household surfaces, as they are also home to protozoa, fungi, yeasts and other microorganisms, in addition to minerals, and other debris. This creates an expensive remediation or replacement situation.
- Biofilms can spread easily and contaminate other areas, increasing the opportunity to spread illness,
- Biofilms are difficult to remove without physical agitation (i.e., elbow grease), and
- Bacteria surrounded by biofilm are harder to kill with sanitizers and disinfectants and harder to remove even with microfiber.
Just like the urban and suburban growth phenomena in many US cities, lone bacterium or even small groups will break away from these slimy little neighborhoods of all kinds of beasties and debris which all work together to survive to make room for new tenants in the old biofilm and to go off and start a colony in a new area. And that means larger surface areas to damage and more easily-spread disease.
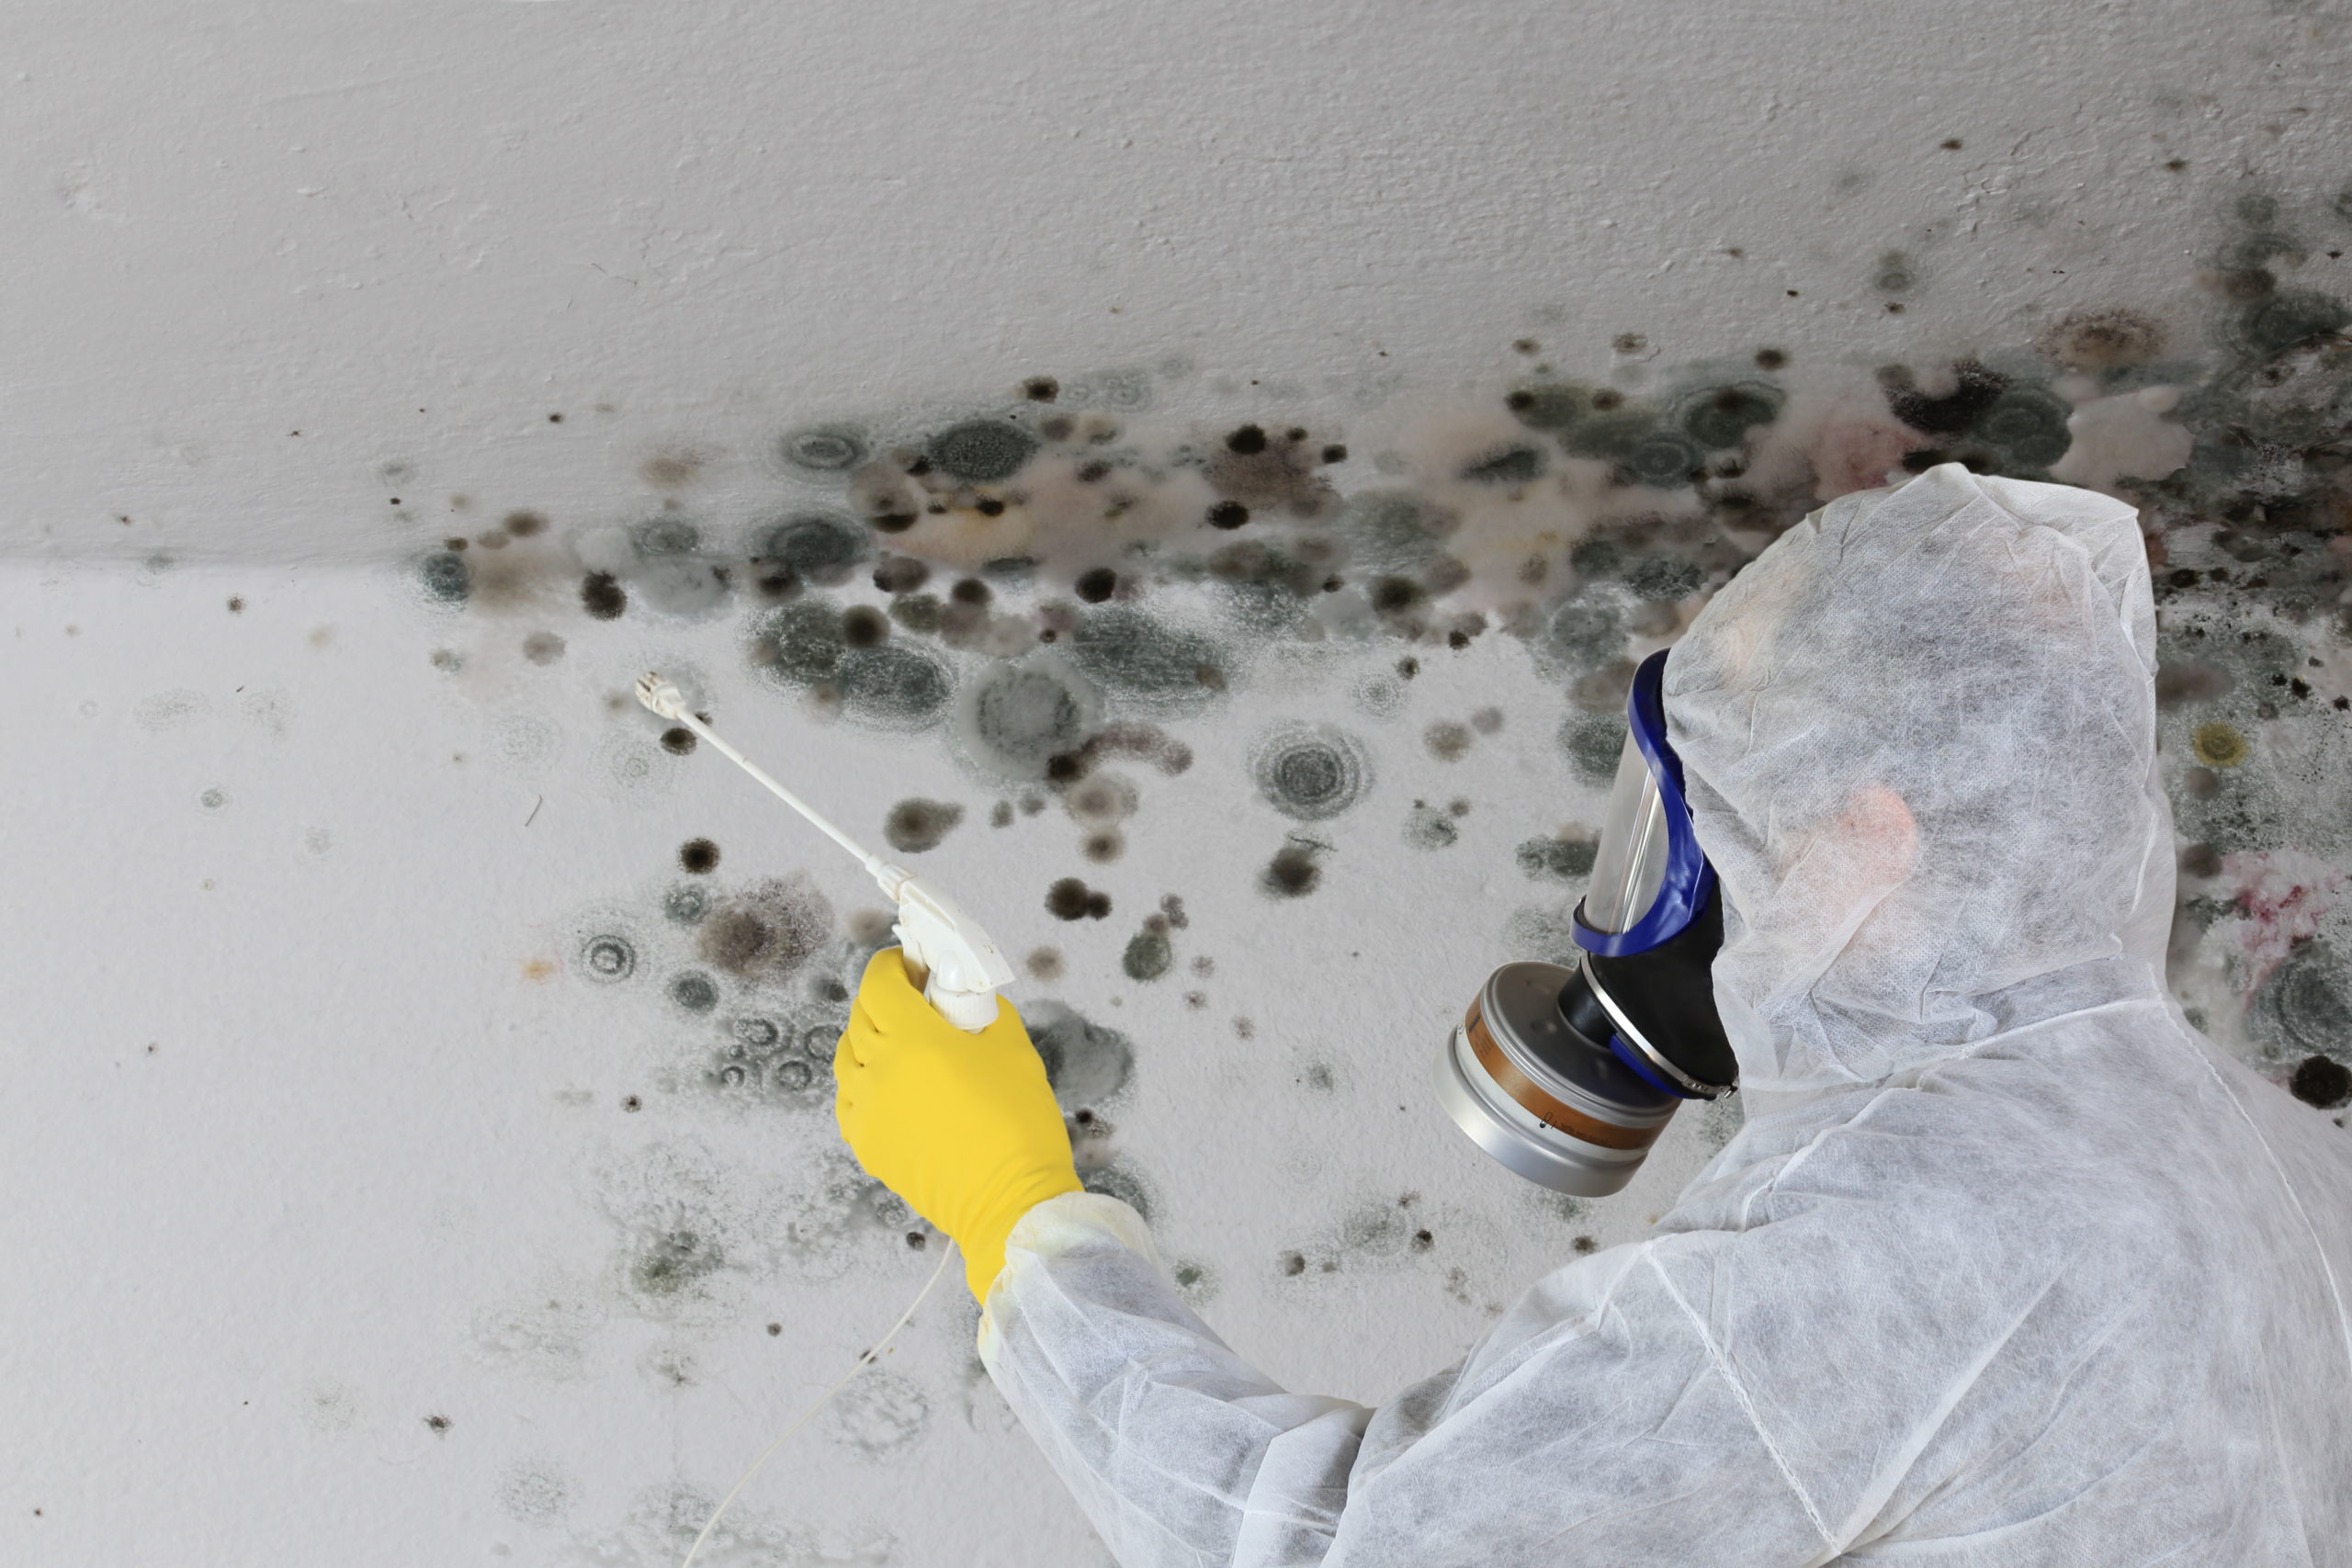
Is it bathroom mold or pink biofilm?
S. marcescens, mentioned above, grows in moist areas where mineral-containing materials and fatty substances – like cooking oil residue and body lotions – accumulate. Sources of these substances include soap scum in bathing areas, feces in toilets, and starchy food residues in pet water dishes.
The telltale sign of a biofilm containing S. marcencens is a pinkish to reddish slime, and it is often confused with bathroom mold or mildew. S. marcescens is a common but opportunistic human pathogen found in moist locations that can infect open wounds and the respiratory and urinary tracts of immunocompromised adults and children. The primary treatment is antibiotics, but unfortunately some antibiotic-resistant strains have been found.
How do cleaning services combat biofilm?
The best weapon against unwanted biofilms is preventing them from colonizing in the first place, but cleaning services are rarely lucky enough to acquire a new client with a perfectly clean home.
Regular Cleaning: Regularly-scheduled cleaning (ideally weekly) and keeping surfaces free of moisture and residue (“bacteria food”) is the best defense against biofilms. Once established, biofilms are difficult to get rid of. Even if the surface looks clean, biofilms can cling tenaciously to out of the way areas.
Two-Step Clean and Disinfect Required: Studies show that due to their protective matrix, spraying with bleach or another type of antimicrobial, or a shower or toilet bowl cleaner, and then just rinsing, isn’t going to remove them. Antimicrobial chemicals cannot penetrate the biofilm to kill all bacteria. In addition, the antimicrobial chemicals are neutralized by the components of the matrix and the debris it contains. Like dental plaque, biofilm must be agitated, broken up, and removed before an antimicrobial chemical (in the example of plaque – mouthwash) will be effective. This is not a new recommendation for the use of antimicrobials and disinfectants; all require the surface be cleaned and rinsed before the disinfectant is applied because debris interferes with the killing action of the antimicrobial chemicals. The antimicrobial should then sit on the surface for a specified number of minutes before being removed and then rinsed with fresh water.
Some basic recommendations for removing biofilm from a shower or tub:
- Regular cleaning is a must; weekly is preferred.
- Remove soap scum and soil by administering a shower/bathroom cleaner according to directions. Scrub to remove biofilm and expose clean surfaces.
- After removing the biofilm, it is important next to administer a disinfectant and let it sit for a few minutes (follow label directions) to kill any remaining bacteria, before rinsing again.
- Due to the porous nature of tile grout, bacteria can remain untouched in nooks and crannies causing a quick return of the biofilm. Administering steam vapor will assist in reaching and killing those hard to reach bacteria, allowing a longer time between biofilm appearances.
- Targeted use of an oxidizer like household bleach or oxygen bleach, used according to directions, may remove discolorations caused by biofilms.
- Squeegee and towel dry shower surfaces after each cleaning to aid in inhibiting biofilm growth. Encourage clients to dry the shower/tub after each use, especially for clients on a 4-week or less frequent cleaning schedule.
Some basic recommendations for removing biofilm from a toilet bowl:
- Regular cleaning is a must.
- Clean toilet bowl according to directions on the toilet cleaning chemical of your choice.
- If a possible pathogenic bacteria or biofilm is present, add a second step using your antimicrobial chemical of choice to disinfect bowl. Follow directions on label.
- After cleaning and disinfecting, pour ¼ cup of household bleach into the toilet tank. Let sit for 20 minutes and flush several times. Do not let household bleach sit in the bowl or tank for more than 20 minutes as it can damage non-porcelain parts of the toilet.
- If using a steam vapor machine, remove as much water as possible from the bowl and tank before applying the steam vapor to the inside surfaces.
- For intractable biofilm cases, a disinfectant toilet cake in the bowl or tank may be required.
- Use care with abrasive cleansers and sponges to avoid scratching the fixtures, which will make them even more susceptible to harboring bacteria.
Digging Deeper
These resources from Montana State University’s Center for Biofilm Engineering offer excellent illustrations and short films related to biofilm:
Biofilm Basics
Biofilm Movies Database
Household Biofilms Slideshow